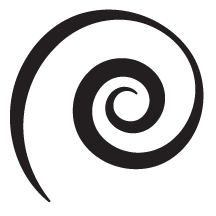
Go from simple spiral…
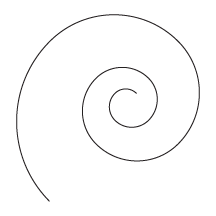
to a watery swirl that looks hand drawn in 5 steps.

Drawing the Swirl of Water
I want to first point out that I do not have a Wacom or other drawing tablet connected to my laptop. I am using the trackpad on my MacBook Pro (the equivalent of a mouse on desktop).
So how hard was it draw that squiggly swirl with its varying line width? Not hard at all! Illustrator did most of the work for me.
Let’s take a look at the steps:

1. Draw a Spiral

No steady hand needed! There is a spiral tool right in Illustrator.
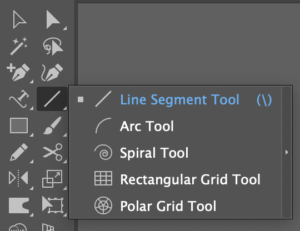
2. Adjust Line Weight
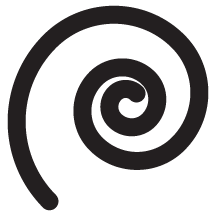
I set the line weight to 18pt and changed the end cap to be rounded
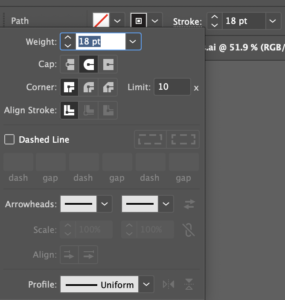
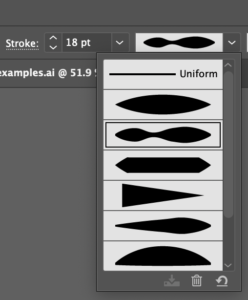
3. Change Line Width Profile
It’s so easy to make variable line widths – there are built in profiles available (plus you can make your own).
4. Apply Roughen Effect
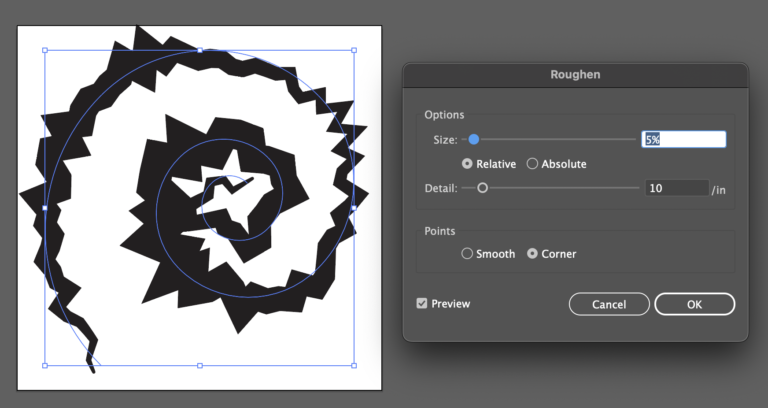
You can find Roughen under the Effect Menu
Effect > Distort & Transform > Roughen…
Whoa! Those are the default settings, but with a bit of tweaking a lovely spiral emerges.
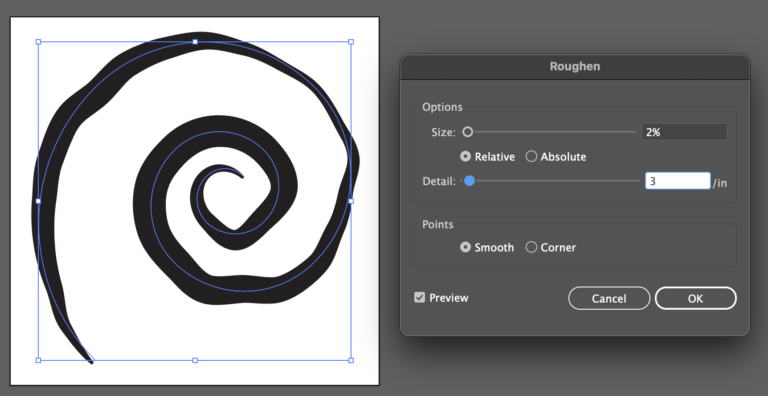
I set the size to 2% Relative, the detail to 3/in and the points to smooth. If you have Preview checked, you can see the transformation as you adjust the settings. Then click OK.
5. Add Color

Ta da! A spiral with varying width and a hand drawn look – in four steps that took me less than two minutes to render.
I could further manipulate the spiral with the anchor points if I wanted. And of course expand the line into a shape for the final design file.
Want to learn more tips like this?
Coming soon! Designer Membership. Monthly membership for surface pattern designers wanting to conquer the design process faster and more efficiently in Adobe Illustrator.
Get on the list to be the first to know when the membership opens.
