Dive Back into Quilting with This Simple Lap Quilt Tutorial
As summer winds down and the crisp air of fall approaches, many of us quilters feel that familiar itch to dive back into our favorite fiber arts. If you’ve taken a break from quilting over the summer and are now ready to get back to it but don’t want to start with a complicated project, then this simple lap quilt tutorial is for you. Today, I’m excited to share a tutorial that’s all about simplicity, perfect for easing back into your creative groove.
A Warm Welcome Back to Quilting
Whether you’re a returning viewer or new to my website, I’m so glad you’re here. My passion lies in all things fiber arts—quilting, embroidery, cross-stitch, and yes, even knitting as the cooler months roll in. Today’s tutorial is focused on creating a simple yet fabulous lap quilt that you can complete in a weekend.
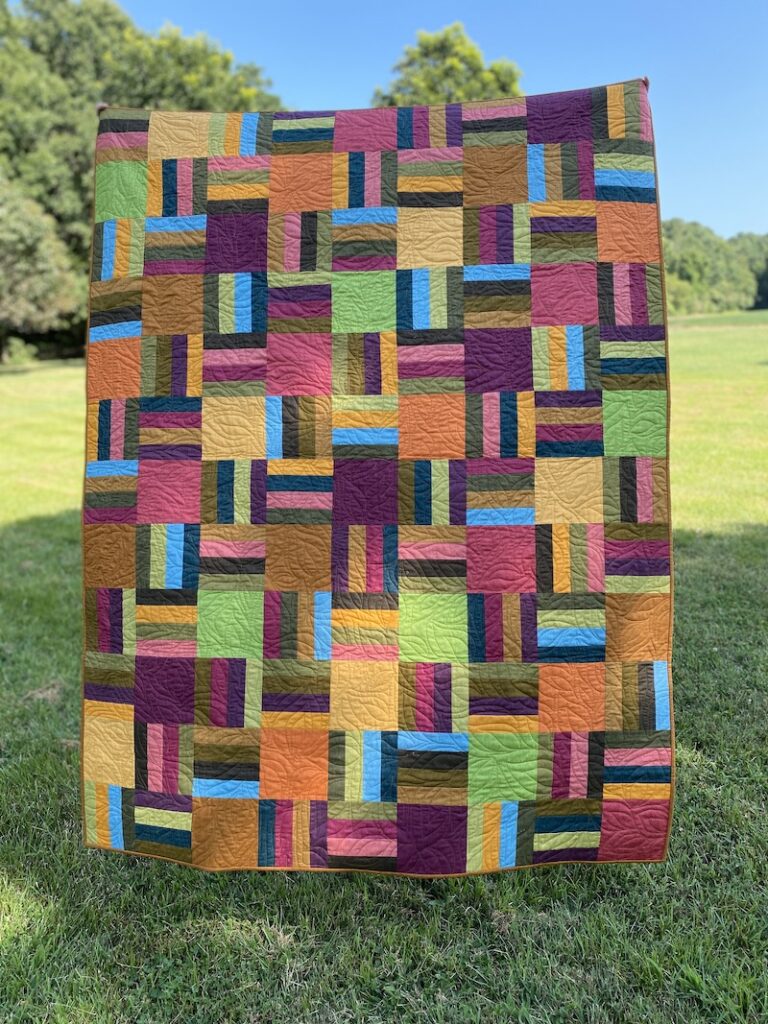
The Project: A Simple Lap Quilt Using Fat Quarters
For this project, you’ll need 18 fat quarters or quarter yards of fabric. I chose fabrics from the same line, all blenders, that I absolutely loved. This quilt is perfect if you’re looking for something that doesn’t require a lot of brainpower but still yields a beautiful result.
Step 1: Selecting and Cutting Your Fabrics
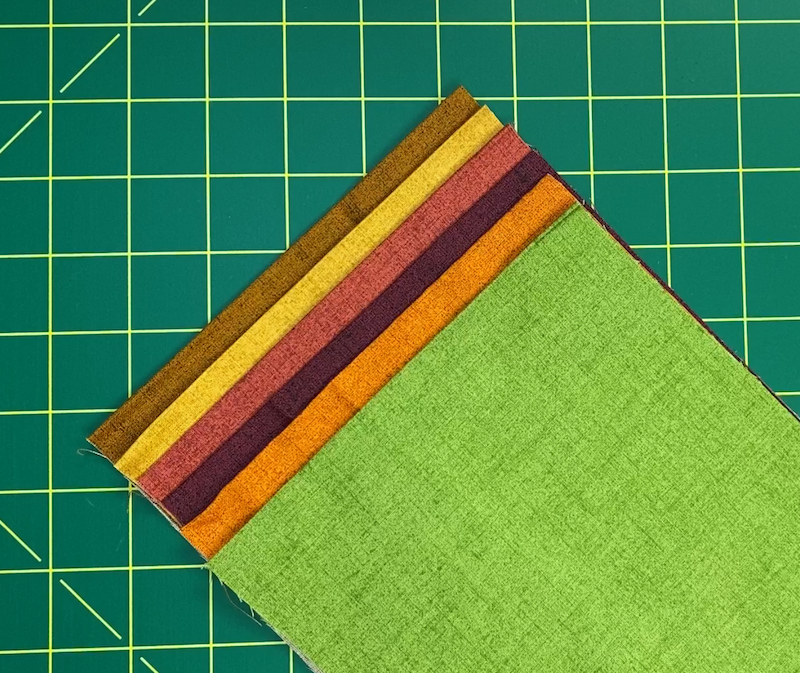
Start by selecting six fabrics. If you’re using prints, pick ones that will look good in a 6-inch finished block. Cut a 6½-inch strip from each fabric and then cut those strips into 6½-inch squares. You should get six squares from each strip.
Next, take the remaining 12 fabrics and cut four 2-inch strips from each. If you’re using fat quarters, you’ll need to adjust slightly—cut two 6½-inch strips for the squares and eight 2-inch strips for the strip sets.
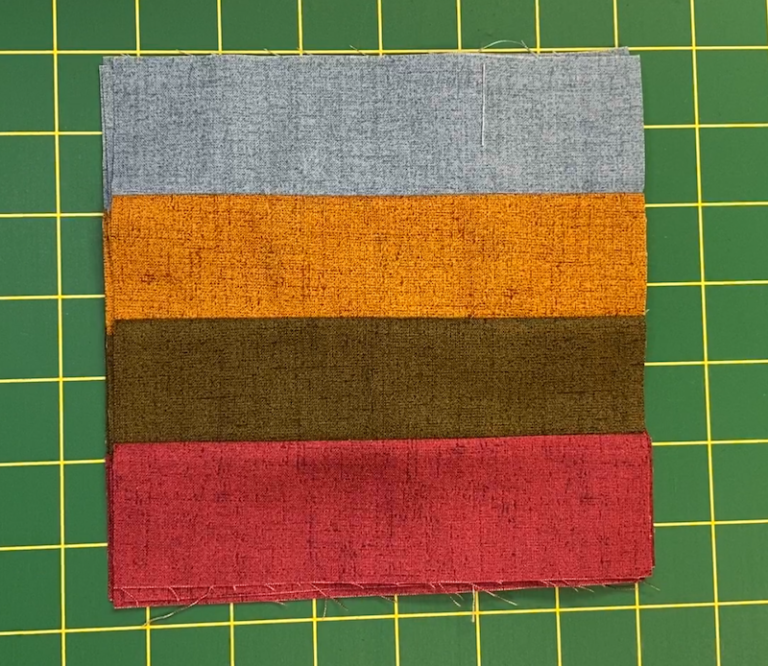
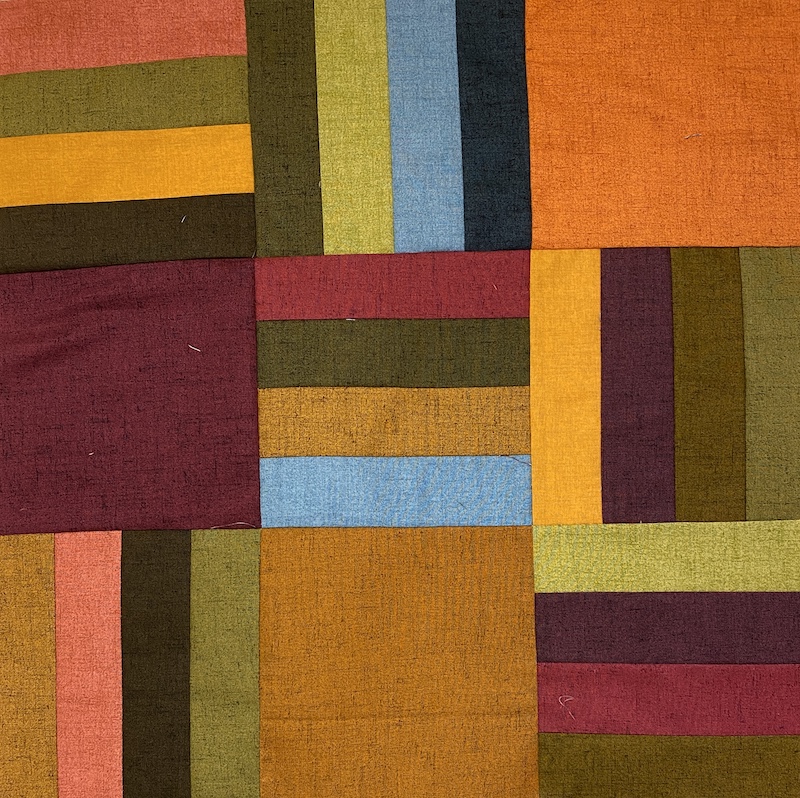
Step 2: Creating Stripe Units
Take four different 2-inch strips and sew them together to create a new strip, which we’ll call the stripe unit. This stripe unit should also be 6½ inches wide. Once you’ve sewn your stripe units, trim them down to 6½-inch squares to match your solid squares.
Step 3: Laying Out Your Quilt
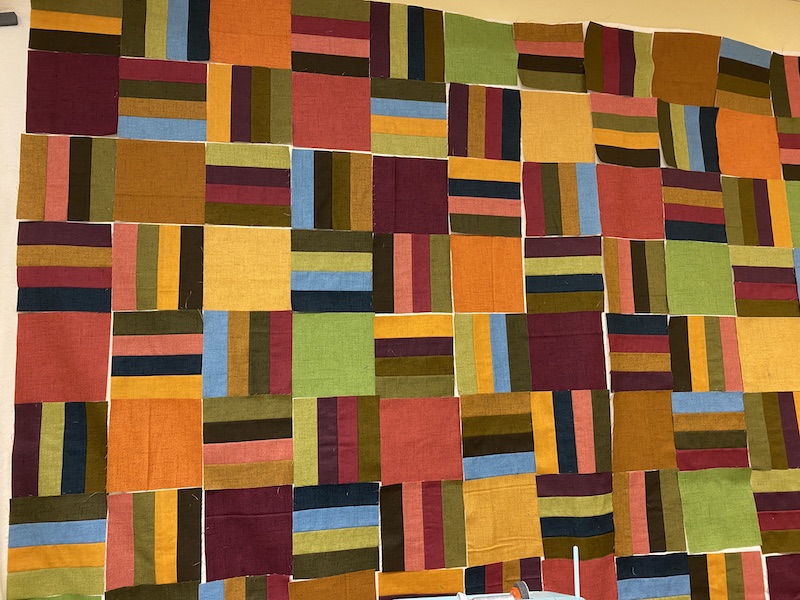
Now that you have your 6½-inch squares—both the solid and stripe units—it’s time to lay them out. I started with first row with a horizontal stripe unit, then a vertical stripe unit, followed by a “solid” unit. I repeated this pattern across the row.
I highly recommend using a design wall for this step, as it allows you to see the entire layout and adjust the color distribution to your liking. If you don’t have a design wall, you can lay the blocks out on a bed or large table.
Step 4: Assembling the Quilt Top
Once you’re happy with your layout, it’s time to sew the blocks together. I found it easiest to sew them in units of three, essentially creating a nine-patch block. Sew three blocks together, then the three below those, and finally the three below that set. Take those three mini-rows and sew together to form a large section of nine units.
Sew a rows of large sections, and sew those rows together to complete the quilt top.
Finishing Touches and Resources
And just like that, you have a simple yet stunning lap quilt ready for fall! If you love the fall colors I used in my quilt, great news—I’ve put together a kit available at my favorite quilt shop, Vintage Pink and Green.
Thank you for joining me in this tutorial! I hope it inspires you to get back into quilting with a project that’s both simple and satisfying. Stay tuned for more quilt tutorials coming your way soon. Until then, happy quilting!

2 Responses