
How to Make a Sea Glass-Inspired Interwoven Quilt in a Weekend
If you’re looking for a fast, satisfying project that still packs a visual punch, this Sea Glass version of my Interwoven quilt is just the thing. With calming colors, simple strip piecing, and beginner-friendly construction, this quilt top easily comes together in a weekend.
I’ve made this quilt before in autumn and spring colorways, but this new palette brings a breezy, coastal vibe that feels fresh and modern. Whether you’re refreshing your home decor or making a handmade gift, this version offers both beauty and speed.
This quilt is perfect for confident beginners or any quilter who wants a satisfying finish in just a couple of days. Kits are available from Vintage Pink & Green. Plus, the Interwoven quilt pattern is totally free—you can download it by joining my mailing list right here.
Start with the right fabric
To recreate this quilt, you’ll need 18 long quarters (or fat quarters if that’s what you have on hand). I personally used long quarters, which we’ve conveniently packaged into a kit at Vintage Pink & Green. That way, you can get started right away without overthinking your color palette!
Next, choose six fabrics to become your feature squares. The remaining twelve will turn into colorful strip sets. This balance keeps the layout structured but still lets you play with color and contrast.
Cut, Piece, and Press with Purpose
After selecting your six focus fabrics, cut them into 6½-inch squares. Then, take the other fabrics and cut them into 2-inch strips. If you’re using fat quarters, you’ll want to cut eight 2″ x 22″ strips from each.
Once everything is cut, it’s time to dive into piecing. Sew the strips into sets of four, mixing up colors as you go. While you could toss them in a bag and pick them blindly, I find it more enjoyable to choose randomly as I sew—just enough control to keep the balance right.
After pressing your strip sets, cut each one into 6½-inch squares. Remember to square up your strip sets as needed to keep your blocks nice and tidy. A little care here goes a long way when it’s time to assemble the rows.
Layout and Assembly
Now comes the fun part: arranging your blocks! I started building the quilt in block sections since my design wall isn’t quite large enough to hold all 108 blocks at once. Working in smaller nine-patch sections makes it more manageable, and you can still get a good sense of the overall design.
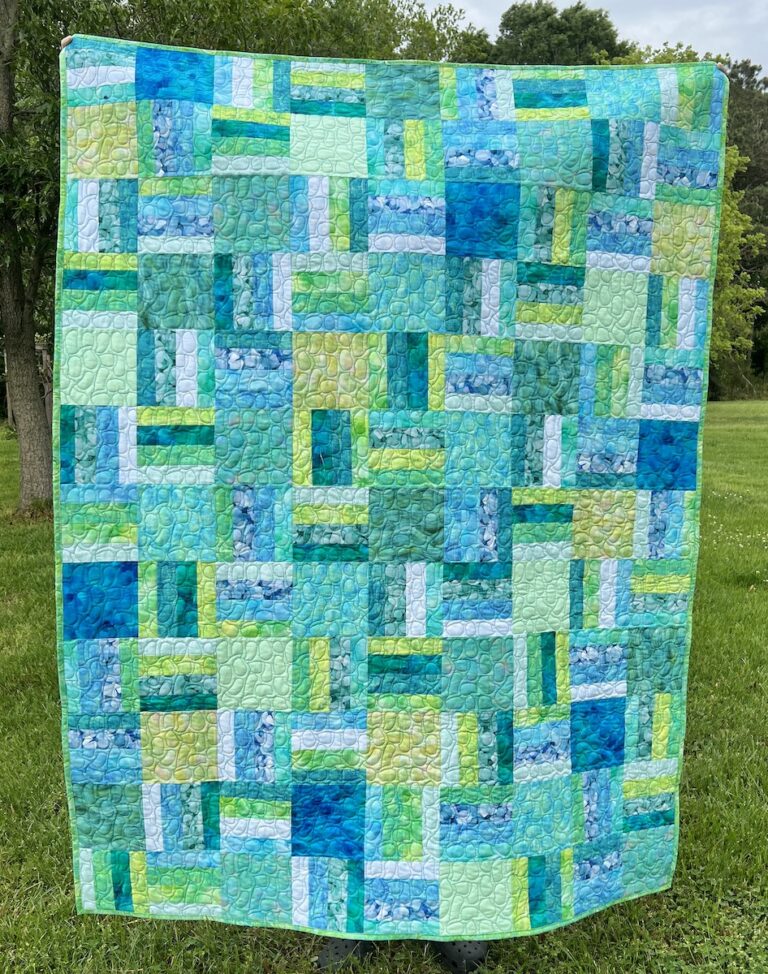
Arrange the blocks into 12 rows of 9 blocks each, alternating strip sets and solid squares. This layout creates a woven, textured look that gives the Interwoven quilt its name.
The Finished Look
Once pieced, the top reveals a soft, sea glass-inspired flow that feels effortless. I finished this version with a quilting pattern that adds even more texture while keeping the look airy and coastal.
If you’d like to make your own, I’ve linked everything below so you can jump in and start sewing!
One Response